Monday, February 16, 2015

Stairway to Heaven


The basement stairs have endured some abuse these last few years. When David moved in they were freshly painted. Though not super attractive, they were passable for a semi-finished basement. And yeah, that's what the basement looked like when David moved in. Hello, wood panelling.


After five years of stomping up and down and dropping heavy things on them, they were definitely worse for wear. There was no question they needed to be replaced to fit in with our nicely finished basement.

So a while ago I had my sprayer out and filled with white semi-gloss paint to spray the plywood panels for the windows. I went ahead and sprayed the stair spindles while I was at it. I was so excited by the smooth, fresh results that I started staining as well.

The newel post and hand rail had old finish on them that I was going to avoid sanding off at all costs. I hate sanding off finish. It is the worst. There are stains that are made to go over finishes, like Minwax PolyShades and gel stains, but they didn't really come in a color I loved. So I tried out a light sanding and a regular stain (Rustoleum's Kona) on the newel post and actually came out with really good results. Apparently the decades since its last finishing had worn it down enough.
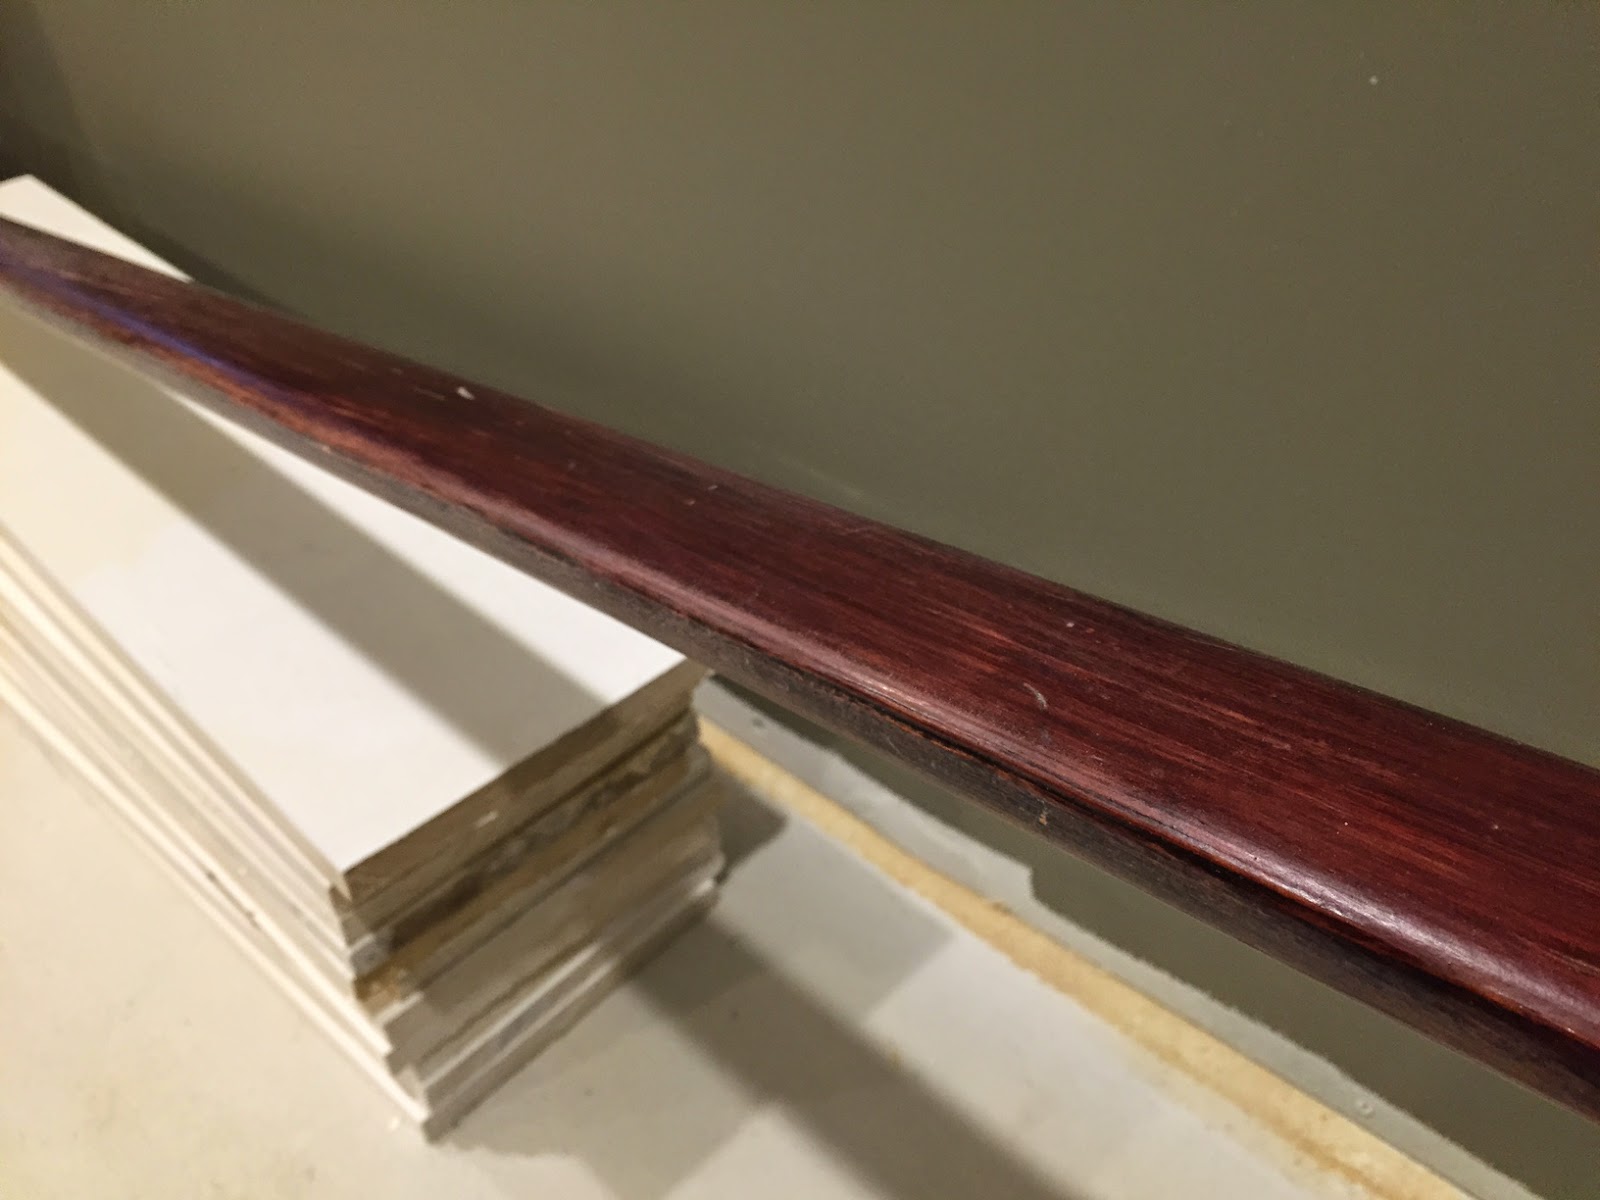

Then I moved on to the handrail. Evidently, this thing had been finished to death because it was not soaking up any stain at all. So I reluctantly pulled out the Polyshades in Bombay Mahogany that I already had on hand and brushed on a coat. It was quite a bit more red than I wanted, but still a big improvement over the golden oak that it was.


I then went on to brush on a thin coat of the Bombay Mahogany over the newel post as well, just to make them match a little more.


Then it was time for the treads and risers. I got some 2x10 lumber from Lowe's for the treads and practiced my routing on a scrap piece, since I had never used a router before. We had borrowed one from David's dad. Score free use of tools. It was super easy to use and I was so thrilled with the results. For anyone curious, I used a 1/4" roundover bit on the top edge and then flipped the board over and used a 5/32" roman ogee for the bottom.


Then I started testing out some stain colors on my scrap tread. I knew I liked the Kona best, but I was worried it would look weird if it didn't match my newel post and hand rail. Kona also had the disadvantage of being a stain only so I would have the additional step of applying poly. I also tested the Bombay Mahogany, and Antique Walnut (also a PolyShades color), which is the color of our built in bookshelves.


I decided on Kona because it actually matched our flooring pretty well, as you can see above. I went ahead and made the step for the bath tub platform because it needed to be installed before tiling could happen around the tub. It was also a good test run for the main staircase.


Then I had to wait several weeks because I had gotten way ahead of myself. We didn't want to do the stairs until we were nearly done because we didn't want them to get dinged up during our continued construction. So once we were on to the floors, we felt comfortable getting our stair on.

After the ceiling was complete, we moved all the boxes of flooring down stairs to acclimate for a while, since we had been storing it in the cold garage. During that time, I got started on making my stairs. I did the risers first. I bought 1x10 boards, but had to cut and rip them all. I had to measure each step individually because out stringers were hand cut when the house was built and not every step is the same size.


This didn't take near as long as I thought it would. I got it done in about an hour while David was at work one afternoon. Then I gave them all a good sanding and filled any large knots with wood filler. Then I took them out to the garage, along with some doors and trim that needed a coat of white semi-gloss, and used the paint sprayer to get 'er done.


After the risers were complete, it was time to cut the treads. I needed help with this part since the 2" thick, 12' long boards were rather heavy and awkward to handle by oneself. Again, each step had to be measured because not all the treads were the same length.


Once they were all cut, we placed them all over the existing stairs to make sure everything fit. A few needed to be trimmed, but we were looking good.

Then it was time for routing. I did this in two passes. The first with the roundover bit on each tread, then I flipped them all over and used the romen ogee on the bottom lip. For the treads that will be exposed on the side, I also routed one side. I used David as a human clamp to save time, but if you want to be, like, safe, or whatever, you should probably use actual clamps to hold your wood.
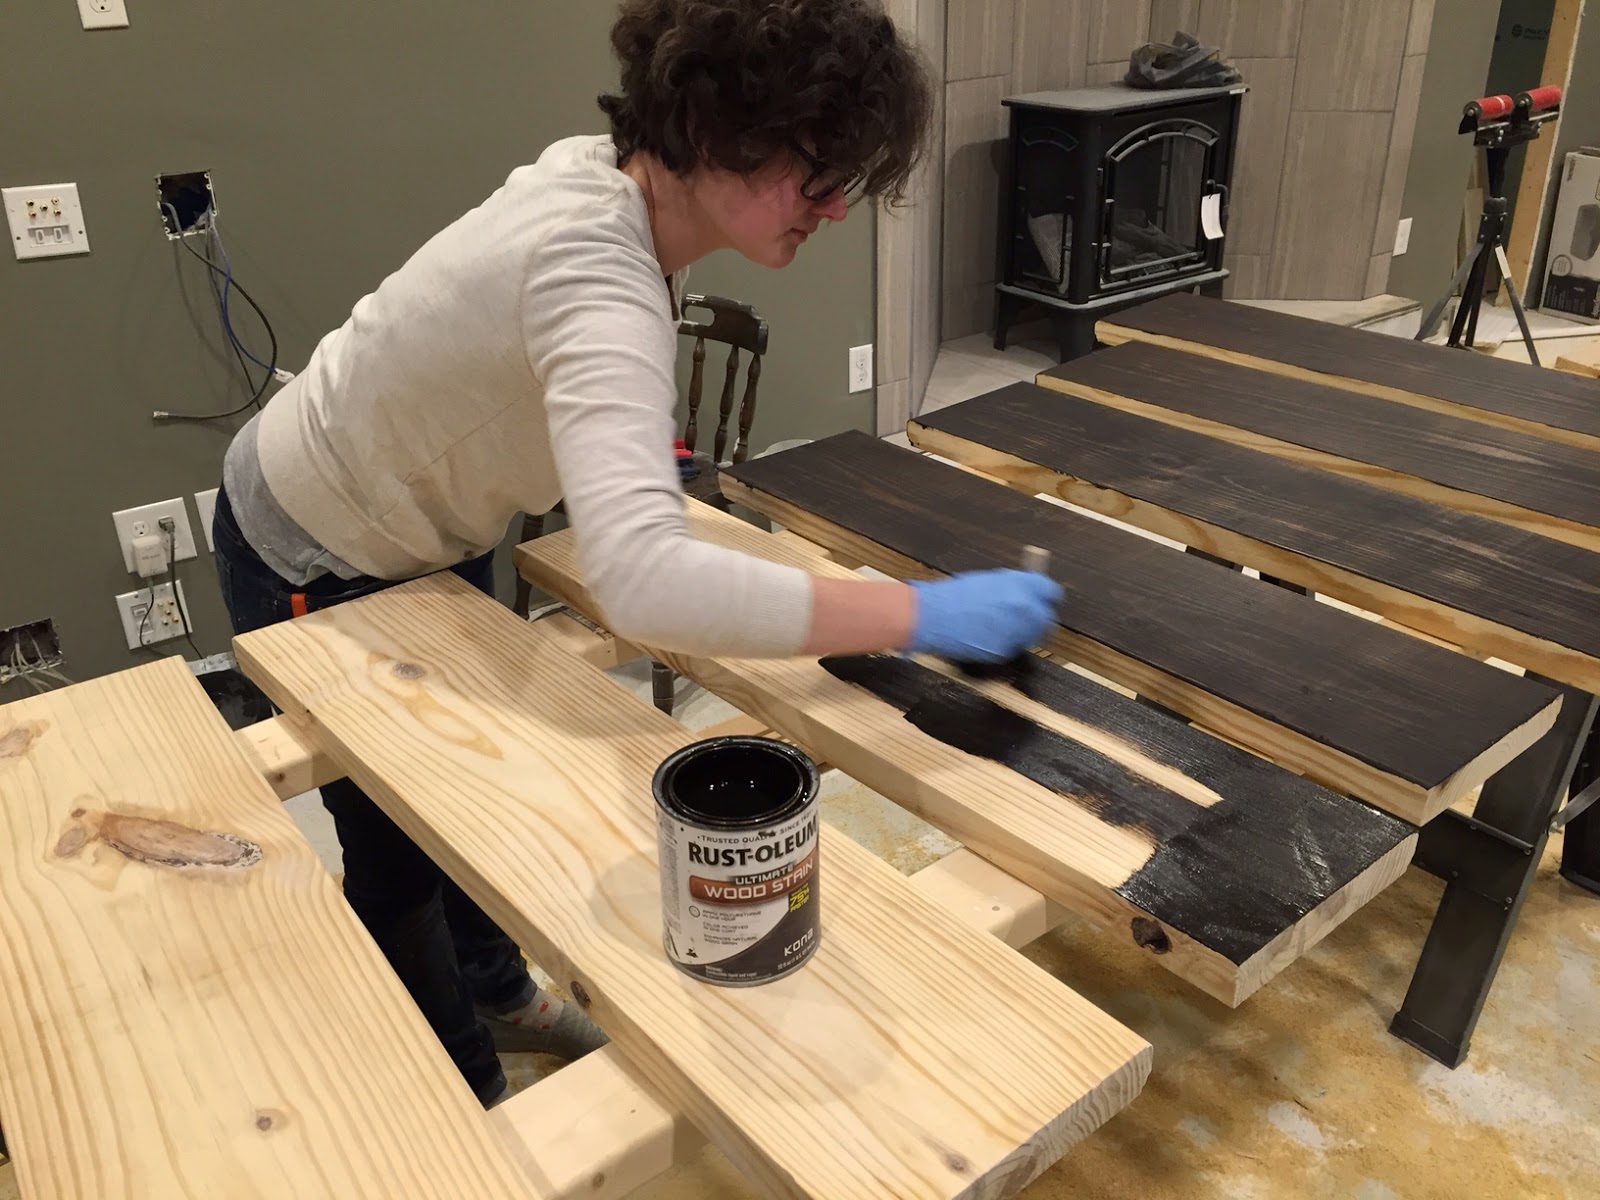

After I had given everything a good sanding, it was time for stain, which I applied with a foam brush, then used an old t-shirt to wipe off the excess. I did 4 treads at a time and then wiped off the excess so it didn't sit for too long.


Then on to polyurethane. I used a satin finish because I already had it and I prefer the look. I applied two coats to the front and side edges and three to the top portion that will see the most abuse. Applying the first coat of poly is so satisfying because it makes the wood look so rich and pretty.


This is where I am now. We plan to wait until the weekend to install them. David wants to remove all the treads at once so he can attach one stringer to the wall because it is very rattly right now. The stairs are the only way out of the basement unless you want to climb out a window, so installation should be a very interesting process. I predict one of us (probably me) will be climbing out a window at least once.

Wednesday, February 11, 2015

A Ceiling Over Our Heads

David and I were both super pumped the get the ceiling up because we knew it would be one of those steps that made the rooms look way more finished. Plus, we would have actual ceiling lights!


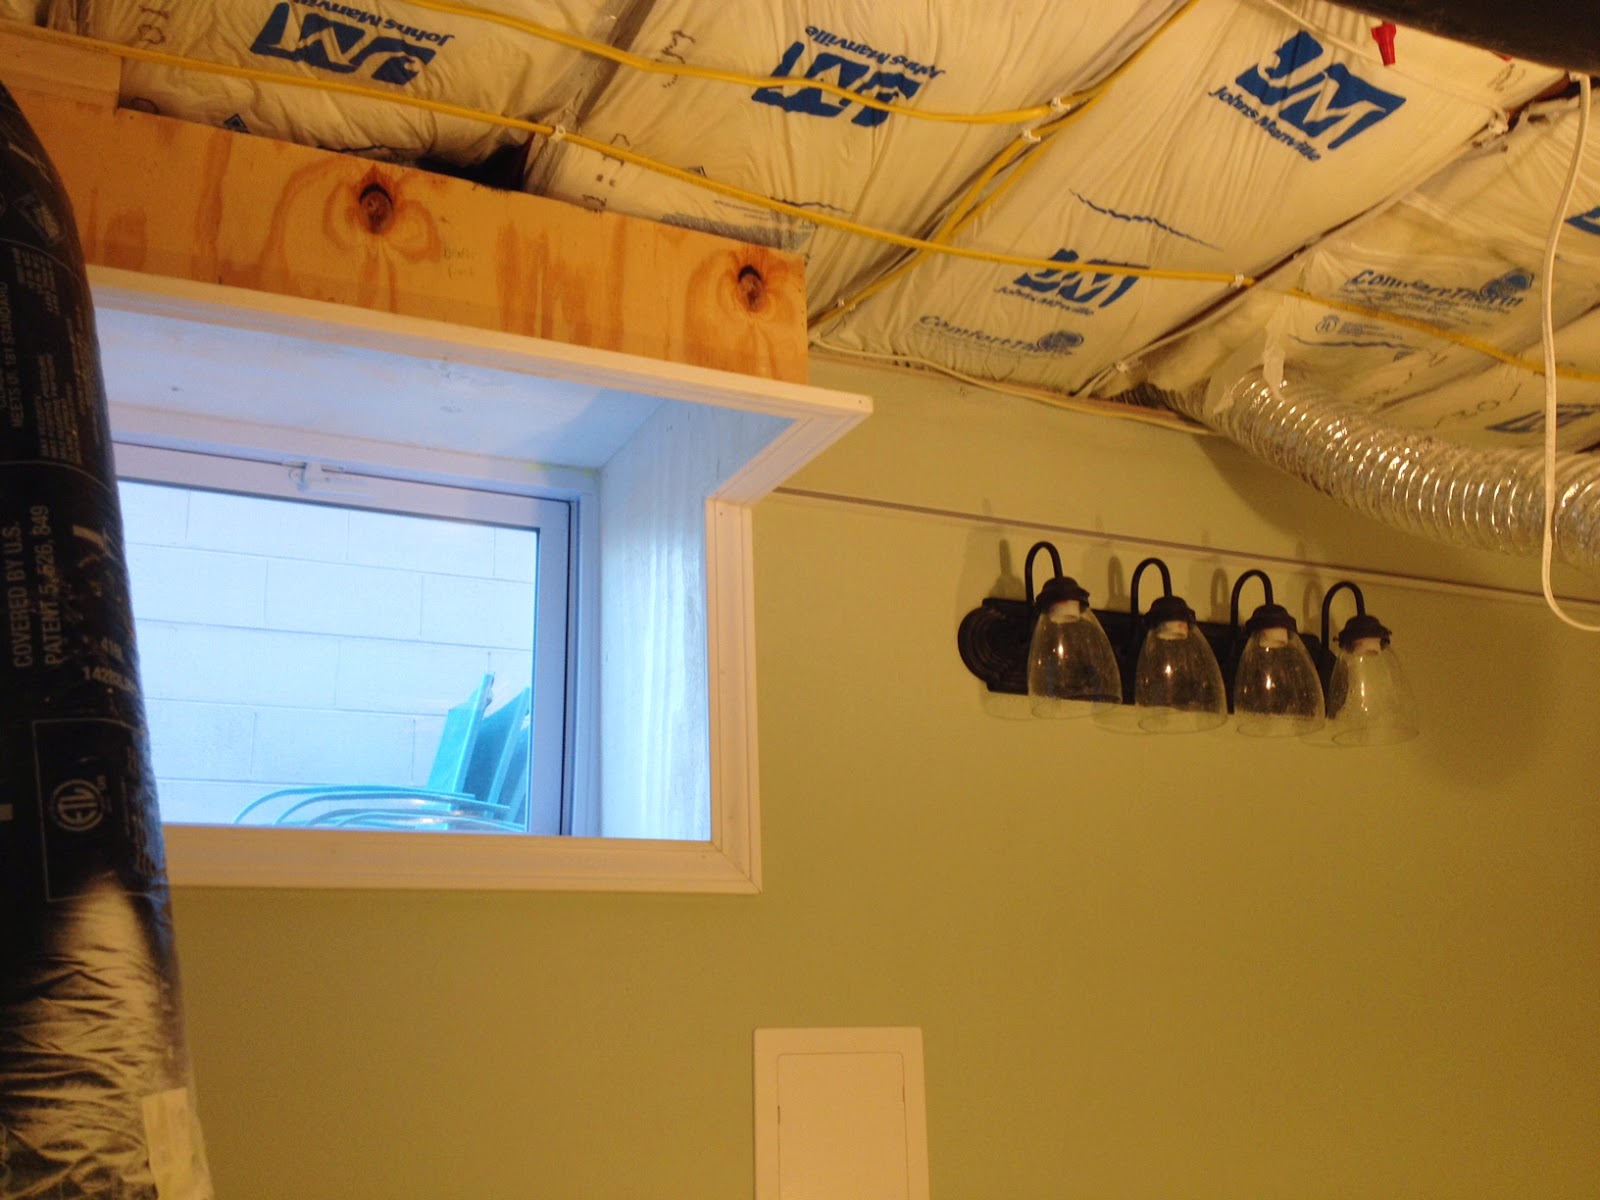
Before we could get to the ceiling, though, we had some windows to deal with. The windows in the basement are only a couple inches below the floor joists. Because there is a lot of ductwork and plumbing in the laundry and bathroom (where the windows are) the ceilings have to be pretty low in those rooms, well below the tops of the windows. I had realized this would be an issue a long time ago, so, thanks to the interwebs, I had a plan.


Here's where those pieces I was painting at the end of my wall painting post come in. Basically, I was making a box around the windows at the level of the ceiling. We used the cheapest plywood money could buy to cut out the pieces.

We installed the angle pieces for the drop ceiling on the walls with windows first so we knew exactly where our ceiling height would be. You could see on the window above that we had to get a little creative to work around a drain line.


Then we finished boxing things out.


While I was at it, I trimmed out the bedroom window, as well. Since it wasn't below ceiling height it was much more straightforward.


Much better!


Then I cut and attached window casing around the opening of the box. The casing on the top would take the place of the angle pieces for the drop ceiling. You can also see on this window that we had to angle the top piece inside the window box down to accommodate that drain line.


Once the trim was caulked and painted, we could get started installing the grid.


We started in the living room because it would be the most complicated. Once the grid was installed, we started placing the can lights.


Getting them all evenly spaced and in line with one another was a bit of a challenge. We didn't want to sacrifice on ceiling height so we ran into a lot of obstructions. We had to fudge some spacing in places and ended up deciding to add an extra two lights, but we eventually got it looking good.


We turned on the power and loosely installed the lights to make sure everything was working correctly while everything was still readily accessible.


Getting all the ceiling tiles up was a veeeeery slow process in this room because pretty much every tile had to be cut, either for a light, vent, or speaker. It was also challenging to fit the tiles around the can lights because we had very minimal clearance above the grid. We found that removing the cross tee next to the light, sliding the tile in, and replacing the cross tee was the easiest method.


Once we got it done, it was such a dramatic difference. Getting to remove those ugly hanging fluorescent lights was a real thrill, too.


Around the windows, you can see things coming together. In the laundry room (pictured above) we have the main air duct running through the center of the room. In order to meet minimum ceiling height, we had to butt the ceiling grid right up to the duct. Because of this, we had to install the ceiling tiles as we constructed the grid. This isn't really the "correct" way to do it, but we found it is actually much easier and faster. It also helps to ensure your grid is square, which is a problem we ran into in the living room. So that is the installation method we adopted for the rest of ceilings.


If that light fixture looks familiar, it's because it is one of the ones removed from the kitchen. We might eventually replace it with something more interesting, but for now, its low profile and simple design work well enough in a room where the ceiling is only a little over 7' high.


We got a wild hair one day last week and decided to install the flooring in the bedroom to make more room out in the garage. It's really looking legit in here. All that's left until this room can be called complete is trim and doors. Woo hoo!

Jawn Watson is photobombing.
We had to use a different ceiling tile in the bathroom that can withstand exposure to moisture. It was weirdly different. It was basically a piece of foamy fiberglass with a thin sheet of plastic over it. It weighed almost nothing and it was soooo much easier to work with. It cut like butter and was flexible so putting it in the grid was a breeze. If only it came in a smooth finish!


Now that we have dusted off our hands and called it done on the ceiling, we are working on stairs. The flooring for the rest of the basement is acclimating, so once the stairs are complete, we plan to lay that all down. After that, we only have trim and doors and a handful of small tasks and touch ups until we are complete!

Oh, and since all the lighting and electrical is complete, we can call for our final electrical inspection at any point. Let's cross our fingers that it goes as smoothly as the other inspections!

Monday, February 9, 2015

Tiling is the Worst Thing Ever: Part 2

Oh, grouting. I thought you would be so easy. The next weekend after the fireplace tiling fiasco, we hopped on the grout train. The color I chose was Pearl Grey from Lowe's. Things started off well enough.


The grout was mixed according to directions. It actually was a little too dry at first, so we added a little more water right after I got started applying it and found it was a bit crumbly.


I smooshed it all over the wall with a rubber float, then scraped off the excess with diagonal passes over the wall. Cait and I took turns doing all three walls because that business is tiring.


Then Cait got started wiping the walls down with a damp sponge while I moved out to the living room to apply the grout on the fireplace alcove.


This application was much quicker because there were fewer lines and I didn't have to wipe the grout over the entire wall.

Now this is where things got awful. You know how I said we did all three shower walls before wiping? Yeah, that was a mistake. The grout got too dry on the wall and became extremely difficult to remove. While we were all scrubbing away at the walls, we started to get a little overzealous and made the grout lines way too small. Basically, three of us spent like 3 hours scrubbing and scraping at the walls with various tools including a plastic putty knife and a grill cleaner. I had so much grout so far underneath my fingernails that my hands hurt for a week. And the walls still didn't look good. This was instance number 2 where I wanted to murder everyone.


Meanwhile, the fireplace alcove was coming along just fine because I wiped things down in a much more timely manner. The picture above shows the difference between the second and third cleanings.

And so Saturday ended with me in a very bad mood and extremely dissatisfied with how things had turned out. During all the scrubbing I had noticed a couple places that had been missed with the grout and also that the grout was very crumbly in the areas where we had initially applied the too-dry grout. So I knew I would have to do another layer of grout the next day.

This second application went SO. MUCH. SMOOTHER.


Before applying the new grout the next day, I took a thin piece of metal (the scraper part of the grill brush) and knocked out all the loose looking grout. Then, I only did one wall at a time before wiping it down with the sponge. This is also when I realized our mistake about the size of the grout lines. I felt 100 times better about the look of the grout after this.


After a couple of days, I then applied some sanded caulk that matched the grout color to all the seams both in the shower and the fireplace alcove. Doing this was a hot mess as well. That stuff is hard to work with and the dark color made any smears extremely apparent. I used masking tape to try to contain things where I could, which helped a lot, but I still had a lot of clean up to do.

After the caulk had dried for a day, I applied sealer to the shower tile to help protect it from water and dirt.


Then I could finally say I was done with this stupid tile.


As annoying as it was, it did turn out pretty nice looking.


Now let's just hope I never have to tile anything ever again.

Sunday, February 8, 2015

Tiling is the Worst Thing Ever: Part 1

I really need to stop thinking that anything in this basement isn't going to take a really long time. With the painting finished, David and I were free to move on to tiling and ceiling installation. Since tiling is something that requires big hunks of time, we saved it for the weekends while working on the ceiling during the weekday evenings. I'll talk about the ceiling in another post (it's not quite done yet) but the tiling is all finished up and I just barely lived to tell the tale.


We started with the shower subway tile. Before we kicked things off, we installed two of the bathroom lights so we could actually see what we were doing.


Flipping the switch for the first time and seeing the whole room light up was super exciting since up to this point we had been dragging a lamp around for light in here. However, the extra light illuminated some problematic drywall areas which we had to touch up.


I had never done any tiling before, so we watched some videos on YouTube and then dove in. See that line on the left hand wall in the above picture? That was my level line and I used it on all three walls to make sure my first row was nice and straight.


We used mastic instead of mortar in here and I really loved working with it. It's pre-mixed, which makes it super easy. Our tiles were also self-spacing so I just had to butt them right up next to each other.


Once I got the first row in place, things went pretty quickly. I placed all the tile while David made all the cuts with a manual tile cutter. I measured at the start of every row (starting in the center) to make sure my brick pattern wasn't getting off, and I also double checked that I was still level every few rows.


It took us all of Saturday and Sunday to get everything installed. We did run into some frustration with cutting weird shapes around the plumbing. We resigned ourselves to buying a cheap wet saw from Harbor Freight at that point which ended up coming in very handy later on, as well. Other than that, this was a very problem free installation and I was really excited to move on to the fireplace.


The next weekend, we got started again with these large 12"x24" tiles. Let's just say doing this area made me want to murder everyone. We had to used mortar here because mastic can only be used with tiles up to 12x12. The mortar was harder to work with than the mastic and we had to be sure to work quickly because it dried much faster too.

I had an awful time getting my grout lines straight with the spacers and also with making the tiles level with one another. Basically, I felt like it looked awful and I hated every minute of it. David also had a harder time cutting the much larger tiles. I can't imagine how much worse it would have been without the wet saw.


Doing the platform was a lot easier because we were able to measure and cut all our tiles in advance. Then it was just a matter of slapping them all down in place after mixing the mortar.


We had to figure out what to do with the ugly area where the tile meets the wall.  David had the brilliant idea of cutting thin strips of the tile and placing them on the wall, which worked out swimmingly.


Again, getting these tiles up took us all of Saturday and Sunday so grouting would have to wait another week.

Since this post is already rather long, I'll make another post about grouting. I was hopeful this step would go a little smoother after my frustration with the large tiles. Here's a hint: it didn't.