

It had an ugly paint treatment, but wasn't too dirty or broken like a lot of the cabinets. It also had slide out shelves in the bottom part. And only $10? YES, PLEASE. I couldn't get it to the register fast enough.

I applied two coats of paint, attached hardware (both paint and hardware match what is in the kitchen), then stained and poly'd a piece of leftover butcher block counter for the top.

Then we brought it downstairs, screwed it into the wall and attached the top.

Love it! And I saved $75, which is always a huge plus.

So about this column. There are several in the basement, but all of the others are hidden inside walls. We knew we wanted to wrap this one in wood to make it all nice and fancy.

To get the dimenions of the boards we would need, we measured this top plate, which was the largest part we needed to cover. Then we went out and bought 2 1x8's and 2 1x6's.
Then came the hard part, which was figuring out how to attach the thing. It was concrete on the bottom and metal and drywall on top, which wasn't exactly the best for attaching things to.

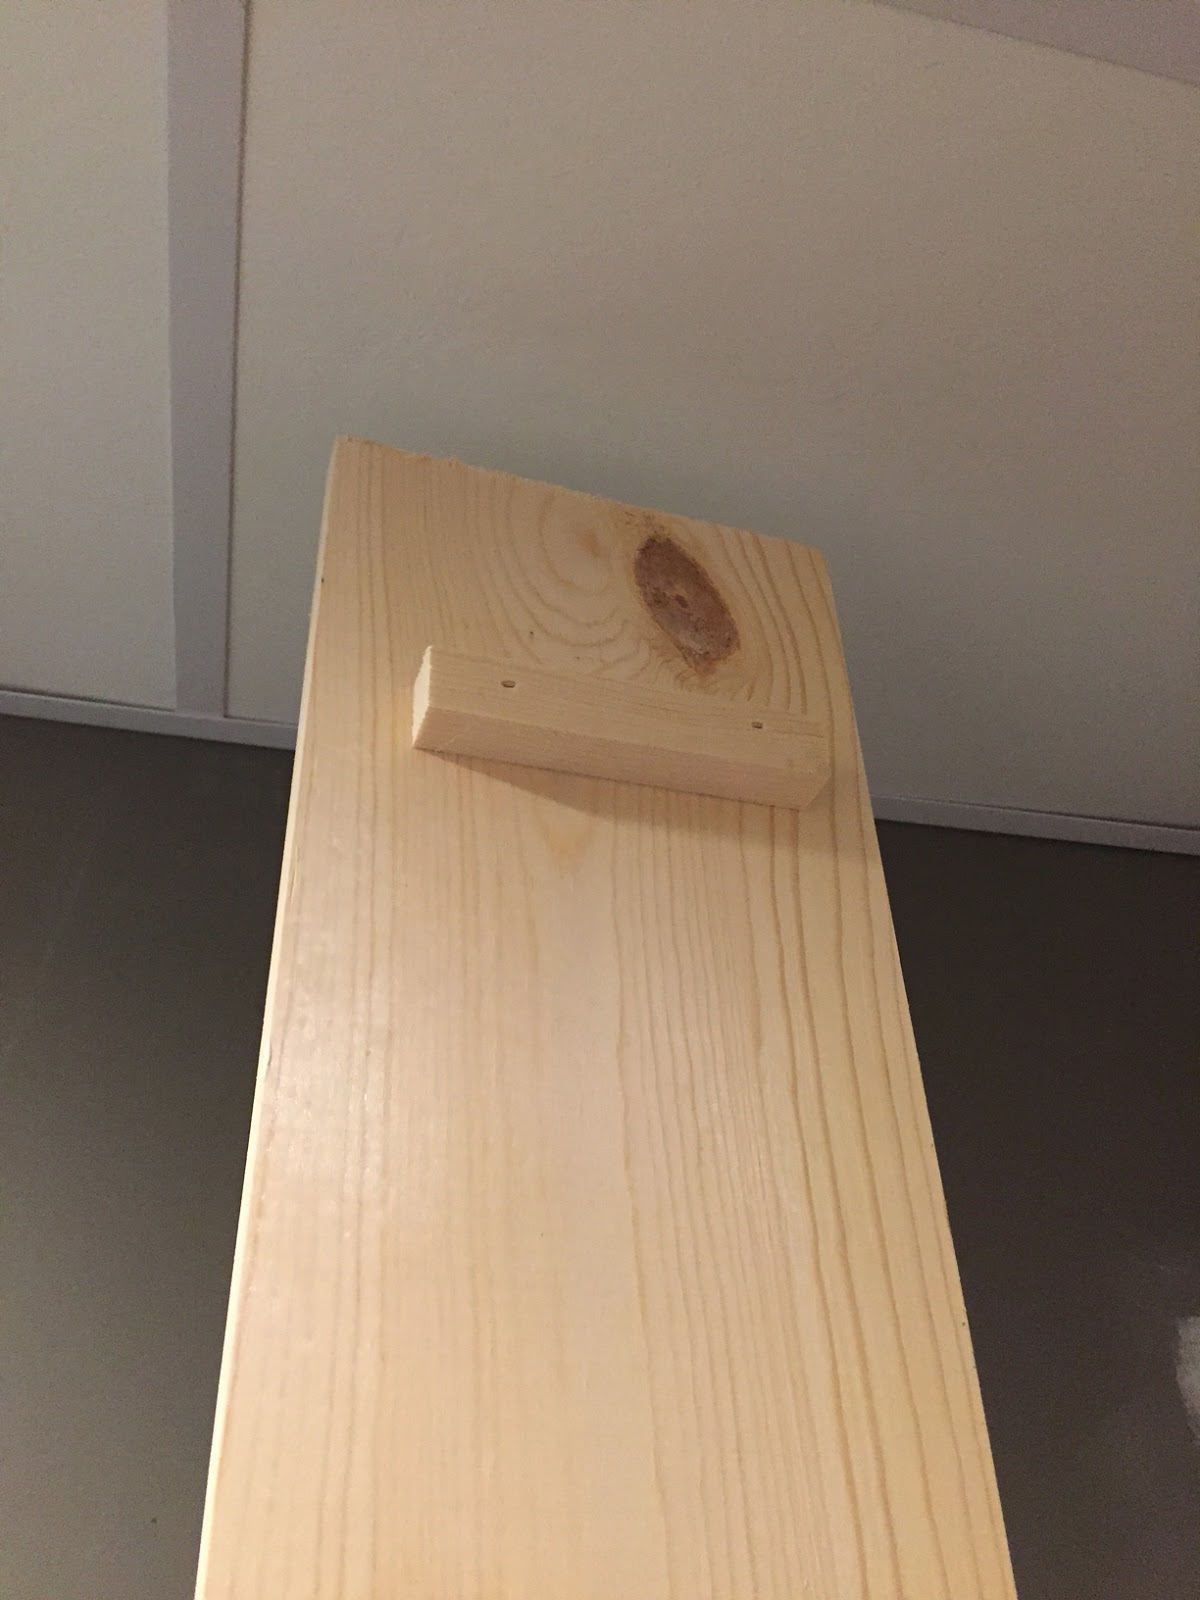
We started out by holding the boards in place around the column to see how much space we would have at the bottom. Then we cut some little pieces of wood to fit and screwed them into the floor with concrete anchors on two sides.

Then attached two of the boards with the nail gun. I also used wood glue and finish nails to attach the edges of the two boards.
We only used wood on two sides because the other sides of the pole had very lumpy concrete that we couldn't really attach anything to cleanly. Since all four boards would be attached to each other, the two supports were plenty.

Now when we got to this point we still had no idea what we were going to do to attach things at the top. We brain stormed for a while when we come up with the idea to insert spacers at the top.

We wedged them in on three sides and nailed them in place. They aren't actually secured to anything on the pole or header, but they keep everything so snug against the pole that there isn't any room for movement.
For the final board, we nailed the spacer onto the board and then attached it to the others.

After that, we placed a few clamps and let everything dry overnight.

The next night, we cut baseboard and shoe moulding and nailed them to the top and bottom of the column.

Then I caulked all the seams and gave everything a few coats of white semi-gloss and called it done. Not having that rusty pole hanging out down in the basement really makes the space feel a lot classier.
Also classing up the space are my stairs which are 100% done as of today. I'll have a post about that tomorrow so be sure to check back.
I can't tell from the pictures, did you miter the corners all the way up? Or were you able to get away with just butting the edges together? Looks great...we have two of these.
ReplyDeleteThe corners are just butted up against each other, not mitered. You could do it either way, though.
DeleteNice. Thanks.
ReplyDeleteFortunately, the supports in our basement are like 6x6 timbers rather than jack posts. I plan to put a gym in that will take-up almost half the basement, and I think I'm going to put stud walls/dry wall in-between the timbers and leave the timber faces exposed, and natural-finish them. One half of the floor will have 8mm rubber flooring puzzle-pieces for the weight area, and the other half will have thicker martial arts puzzle-piece flooring, durable enough for shoes.
ReplyDeleteFortunately, the supports in our basement are like 6x6 timbers rather than jack posts. I plan to put a gym in that will take-up almost half the basement, and I think I'm going to put stud walls/dry wall in-between the timbers and leave the timber faces exposed, and natural-finish them. One half of the floor will have 8mm rubber flooring puzzle-pieces for the weight area, and the other half will have thicker martial arts puzzle-piece flooring, durable enough for shoes.
ReplyDeletetruly wish I found this post sooner, you don't even want to know what I did, tons more hours and probably not as nice of a result lol
ReplyDeleteI did this same thing in my basement but I added an electrical outlet on one side at the bottom.
ReplyDeleteThat’s a great idea!
ReplyDeleteCute. Simple but elegant. You did a great job at hiding that ugly post
ReplyDeleteWhat do you mean when you say attached last board together and let everything dry? What did you use to hold together and let dry?
ReplyDelete