 |
| Don't think for a second you won't get dust EVERYWHERE. |
David and I learned through trial and error, as well the advice of people who know what they're doing that the pre-mixed drywall mud = no bueno. The bagged powder is less convenient, but it is about 1,000 times easier to work with.
My mixing method consists or dumping some of the powder into a drywalling tray, and adding in some water. I mix it up, and add more water as needed. If I make it too runny, I add more powder. There's probably a better way to do this, but I found this works well for me, and after a few attempts, you get a good idea of how much water is needed. It should be nice and smooth without any clumps, but not so runny it won't stay on a trowel. A sour cream-like consistency, if you will.
Applying drywall mud is really something you just have to do and be really bad at until you get the hang of it. I still wouldn't say I'm good, but I get passable results.
I usually fill in the screw holes first, since they're easy. Then I move on to the seams. You want to lay it on thick, then apply the tape over it. We've found that the paper tape is easier to work with, rather than the mesh. If you don't apply enough mud underneath, the tape won't stick properly and will be obvious on the finished wall. Use the trowel to smooth everything out, then apply another layer, making sure to feather out the edges as much as possible. After it dries, give it a good sanding, then apply the second coat, going out slightly wider than the first, then repeat for the third coat.
After everything is dry and the final sanding is done, use a rag to dust off the wall a bit. I like to take this time to really feel up the wall to make sure there aren't any bumps or unevenness. Once you're satisfied, it's priming time!
I didn't really understand the purpose of this product, until I used it. Bare drywall is like a sponge. When painting a 10'x10' room with this stuff, it used every bit of a gallon for one coat. A room that size with pre-painted walls would normally use closer to a half gallon for two coats. So instead of wasting good paint , you go over the drywall with the primer.
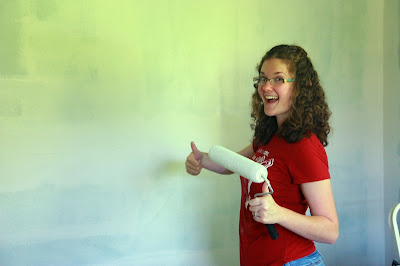
One coat is sufficient, and the coverage doesn't have to be perfect. Once the primer has dried, we painted the wall to match the rest of the room, replaced the trim with the same pieces that had been removed, caulked the seams and that was that. Chico was extremely helpful during the entire process.
Now we have a habitable room again! You'll have to pardon the less than savory lighting below. It was after dark by the time I got the mirror hung.
I still need to add a night stand, lamp and some more wall art, but it's much better than where we started!


More! More!!!
ReplyDeleteThere's more now!
ReplyDelete