
David and I were both super pumped the get the ceiling up because we knew it would be one of those steps that made the rooms look way more finished. Plus, we would have actual ceiling lights!

Before we could get to the ceiling, though, we had some windows to deal with. The windows in the basement are only a couple inches below the floor joists. Because there is a lot of ductwork and plumbing in the laundry and bathroom (where the windows are) the ceilings have to be pretty low in those rooms, well below the tops of the windows. I had realized this would be an issue a long time ago, so, thanks to the interwebs, I had a plan.

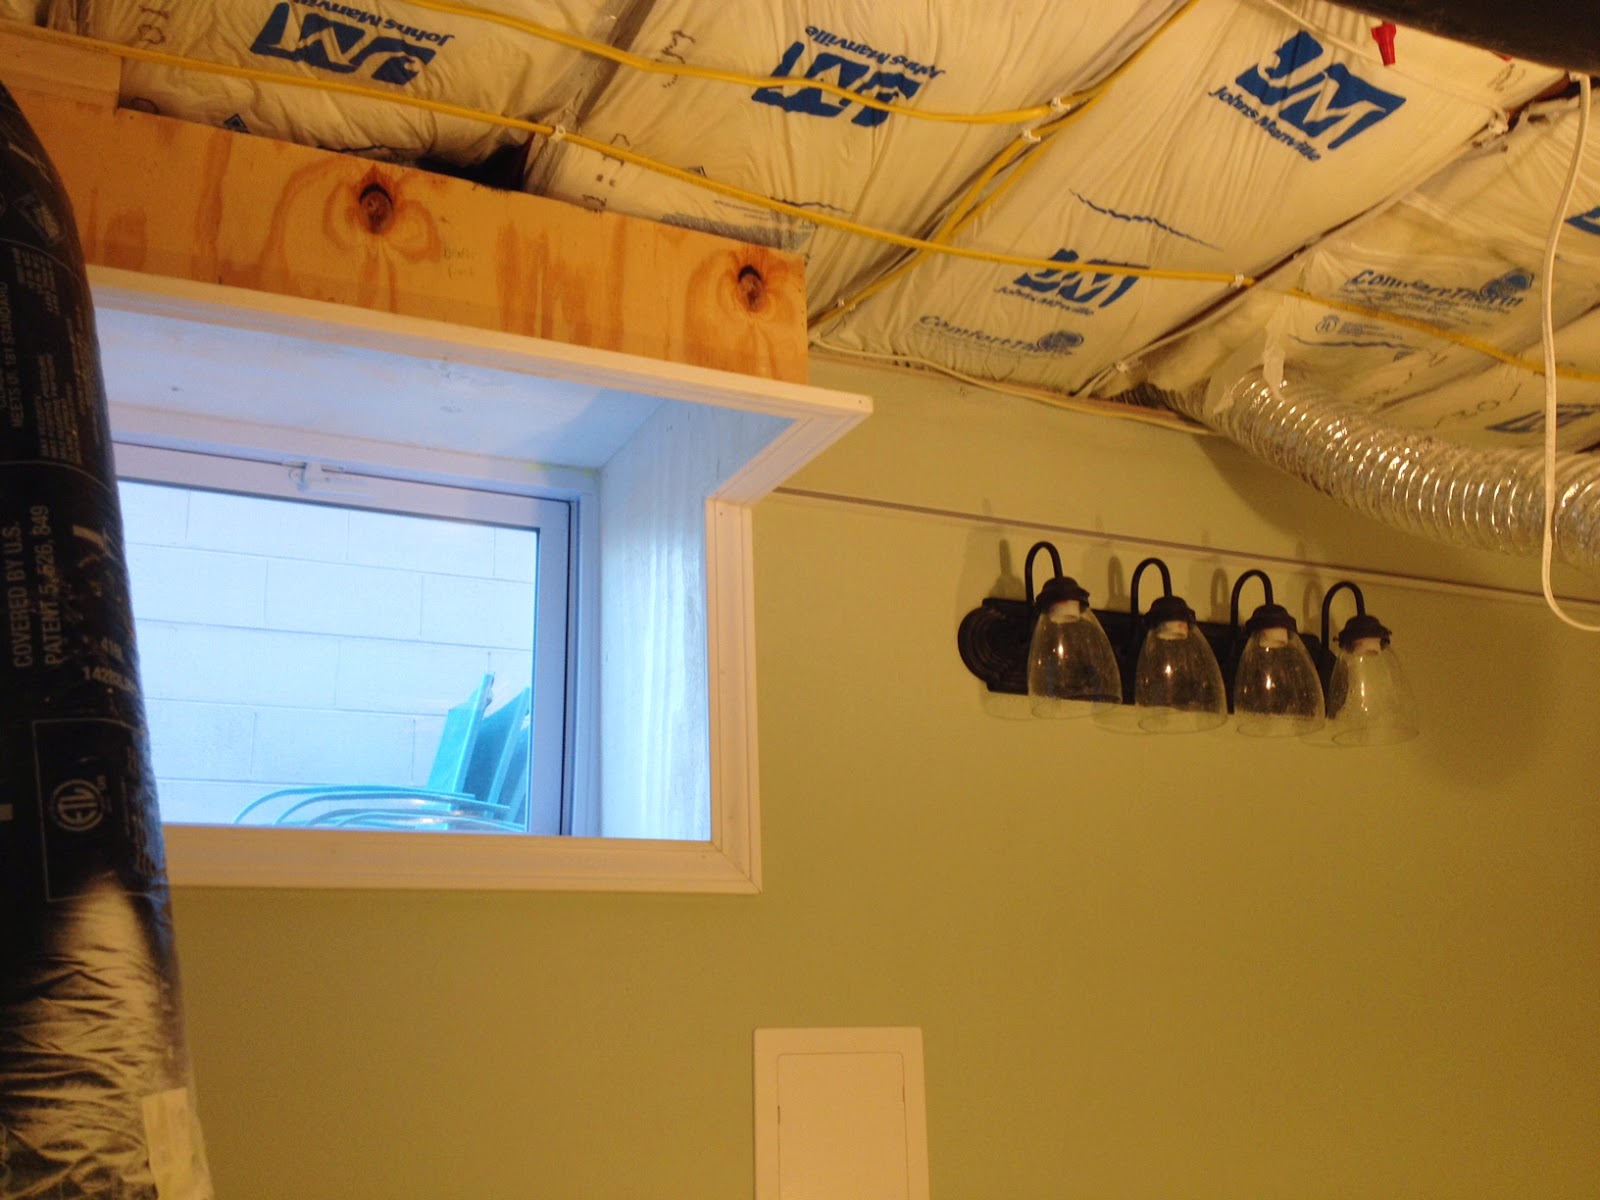
Here's where those pieces I was painting at the end of my wall painting post come in. Basically, I was making a box around the windows at the level of the ceiling. We used the cheapest plywood money could buy to cut out the pieces.
We installed the angle pieces for the drop ceiling on the walls with windows first so we knew exactly where our ceiling height would be. You could see on the window above that we had to get a little creative to work around a drain line.


While I was at it, I trimmed out the bedroom window, as well. Since it wasn't below ceiling height it was much more straightforward.

Much better!

Then I cut and attached window casing around the opening of the box. The casing on the top would take the place of the angle pieces for the drop ceiling. You can also see on this window that we had to angle the top piece inside the window box down to accommodate that drain line.
Once the trim was caulked and painted, we could get started installing the grid.

We started in the living room because it would be the most complicated. Once the grid was installed, we started placing the can lights.

Getting them all evenly spaced and in line with one another was a bit of a challenge. We didn't want to sacrifice on ceiling height so we ran into a lot of obstructions. We had to fudge some spacing in places and ended up deciding to add an extra two lights, but we eventually got it looking good.

We turned on the power and loosely installed the lights to make sure everything was working correctly while everything was still readily accessible.

Getting all the ceiling tiles up was a veeeeery slow process in this room because pretty much every tile had to be cut, either for a light, vent, or speaker. It was also challenging to fit the tiles around the can lights because we had very minimal clearance above the grid. We found that removing the cross tee next to the light, sliding the tile in, and replacing the cross tee was the easiest method.

Once we got it done, it was such a dramatic difference. Getting to remove those ugly hanging fluorescent lights was a real thrill, too.

Around the windows, you can see things coming together. In the laundry room (pictured above) we have the main air duct running through the center of the room. In order to meet minimum ceiling height, we had to butt the ceiling grid right up to the duct. Because of this, we had to install the ceiling tiles as we constructed the grid. This isn't really the "correct" way to do it, but we found it is actually much easier and faster. It also helps to ensure your grid is square, which is a problem we ran into in the living room. So that is the installation method we adopted for the rest of ceilings.

If that light fixture looks familiar, it's because it is one of the ones removed from the kitchen. We might eventually replace it with something more interesting, but for now, its low profile and simple design work well enough in a room where the ceiling is only a little over 7' high.

We got a wild hair one day last week and decided to install the flooring in the bedroom to make more room out in the garage. It's really looking legit in here. All that's left until this room can be called complete is trim and doors. Woo hoo!
 |
| Jawn Watson is photobombing. |
We had to use a different ceiling tile in the bathroom that can withstand exposure to moisture. It was weirdly different. It was basically a piece of foamy fiberglass with a thin sheet of plastic over it. It weighed almost nothing and it was soooo much easier to work with. It cut like butter and was flexible so putting it in the grid was a breeze. If only it came in a smooth finish!

Now that we have dusted off our hands and called it done on the ceiling, we are working on stairs. The flooring for the rest of the basement is acclimating, so once the stairs are complete, we plan to lay that all down. After that, we only have trim and doors and a handful of small tasks and touch ups until we are complete!
Oh, and since all the lighting and electrical is complete, we can call for our final electrical inspection at any point. Let's cross our fingers that it goes as smoothly as the other inspections!
No comments:
Post a Comment