

The basement stairs have endured some abuse these last few years. When David moved in they were freshly painted. Though not super attractive, they were passable for a semi-finished basement. And yeah, that's what the basement looked like when David moved in. Hello, wood panelling.

After five years of stomping up and down and dropping heavy things on them, they were definitely worse for wear. There was no question they needed to be replaced to fit in with our nicely finished basement.
So a while ago I had my sprayer out and filled with white semi-gloss paint to spray the plywood panels for the windows. I went ahead and sprayed the stair spindles while I was at it. I was so excited by the smooth, fresh results that I started staining as well.
The newel post and hand rail had old finish on them that I was going to avoid sanding off at all costs. I hate sanding off finish. It is the worst. There are stains that are made to go over finishes, like Minwax PolyShades and gel stains, but they didn't really come in a color I loved. So I tried out a light sanding and a regular stain (Rustoleum's Kona) on the newel post and actually came out with really good results. Apparently the decades since its last finishing had worn it down enough.
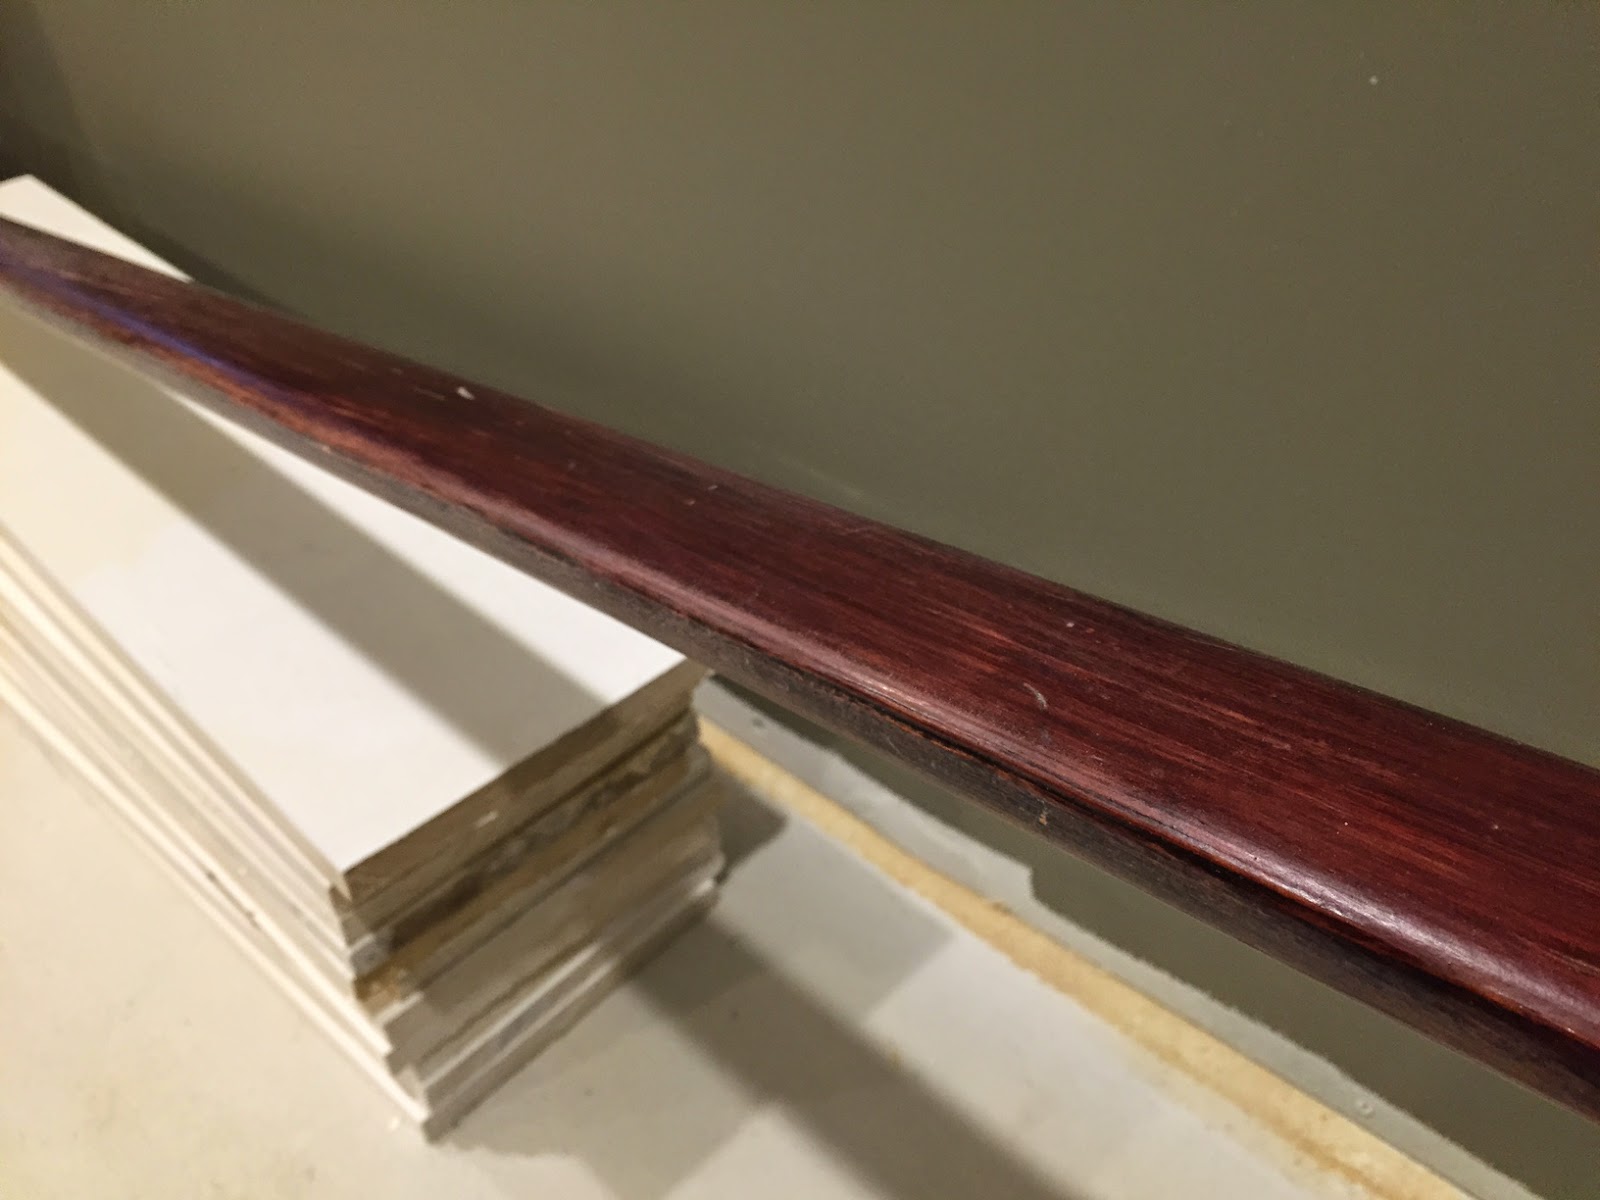
Then I moved on to the handrail. Evidently, this thing had been finished to death because it was not soaking up any stain at all. So I reluctantly pulled out the Polyshades in Bombay Mahogany that I already had on hand and brushed on a coat. It was quite a bit more red than I wanted, but still a big improvement over the golden oak that it was.

I then went on to brush on a thin coat of the Bombay Mahogany over the newel post as well, just to make them match a little more.

Then it was time for the treads and risers. I got some 2x10 lumber from Lowe's for the treads and practiced my routing on a scrap piece, since I had never used a router before. We had borrowed one from David's dad. Score free use of tools. It was super easy to use and I was so thrilled with the results. For anyone curious, I used a 1/4" roundover bit on the top edge and then flipped the board over and used a 5/32" roman ogee for the bottom.

Then I started testing out some stain colors on my scrap tread. I knew I liked the Kona best, but I was worried it would look weird if it didn't match my newel post and hand rail. Kona also had the disadvantage of being a stain only so I would have the additional step of applying poly. I also tested the Bombay Mahogany, and Antique Walnut (also a PolyShades color), which is the color of our built in bookshelves.

I decided on Kona because it actually matched our flooring pretty well, as you can see above. I went ahead and made the step for the bath tub platform because it needed to be installed before tiling could happen around the tub. It was also a good test run for the main staircase.

Then I had to wait several weeks because I had gotten way ahead of myself. We didn't want to do the stairs until we were nearly done because we didn't want them to get dinged up during our continued construction. So once we were on to the floors, we felt comfortable getting our stair on.
After the ceiling was complete, we moved all the boxes of flooring down stairs to acclimate for a while, since we had been storing it in the cold garage. During that time, I got started on making my stairs. I did the risers first. I bought 1x10 boards, but had to cut and rip them all. I had to measure each step individually because out stringers were hand cut when the house was built and not every step is the same size.

This didn't take near as long as I thought it would. I got it done in about an hour while David was at work one afternoon. Then I gave them all a good sanding and filled any large knots with wood filler. Then I took them out to the garage, along with some doors and trim that needed a coat of white semi-gloss, and used the paint sprayer to get 'er done.

After the risers were complete, it was time to cut the treads. I needed help with this part since the 2" thick, 12' long boards were rather heavy and awkward to handle by oneself. Again, each step had to be measured because not all the treads were the same length.

Once they were all cut, we placed them all over the existing stairs to make sure everything fit. A few needed to be trimmed, but we were looking good.
Then it was time for routing. I did this in two passes. The first with the roundover bit on each tread, then I flipped them all over and used the romen ogee on the bottom lip. For the treads that will be exposed on the side, I also routed one side. I used David as a human clamp to save time, but if you want to be, like, safe, or whatever, you should probably use actual clamps to hold your wood.
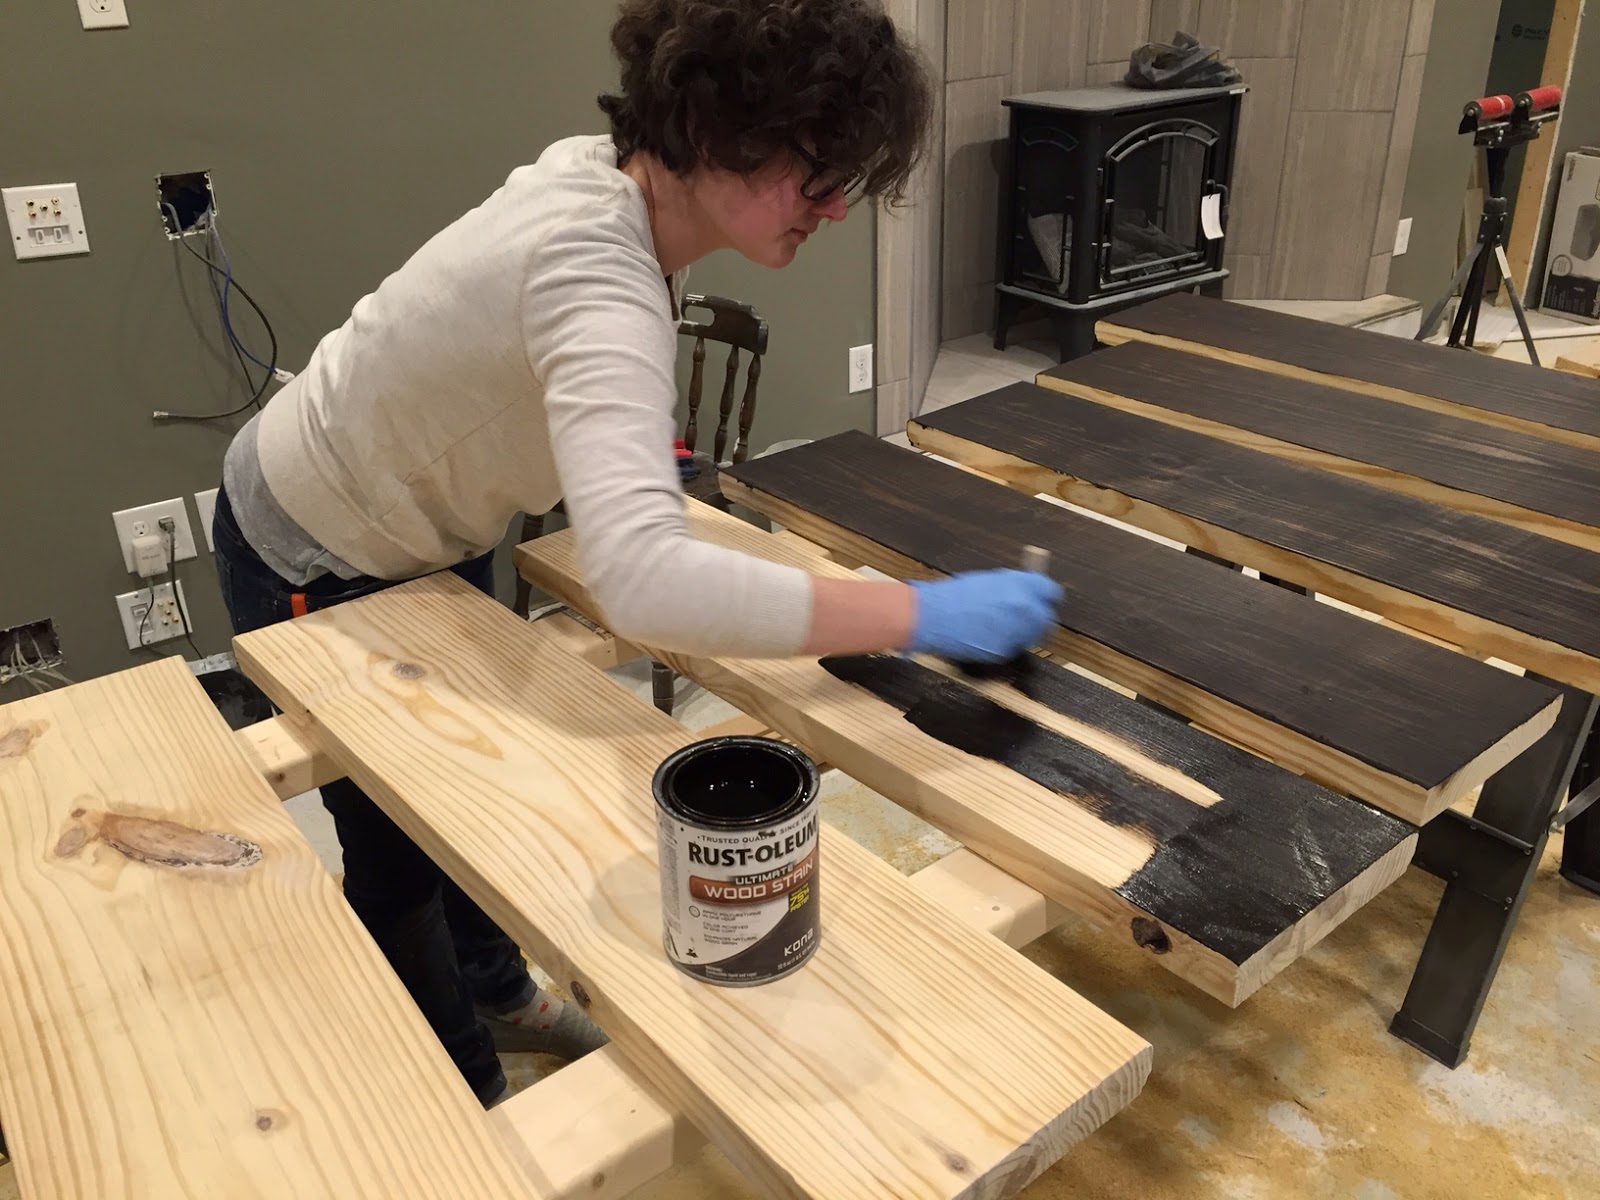
After I had given everything a good sanding, it was time for stain, which I applied with a foam brush, then used an old t-shirt to wipe off the excess. I did 4 treads at a time and then wiped off the excess so it didn't sit for too long.

Then on to polyurethane. I used a satin finish because I already had it and I prefer the look. I applied two coats to the front and side edges and three to the top portion that will see the most abuse. Applying the first coat of poly is so satisfying because it makes the wood look so rich and pretty.

This is where I am now. We plan to wait until the weekend to install them. David wants to remove all the treads at once so he can attach one stringer to the wall because it is very rattly right now. The stairs are the only way out of the basement unless you want to climb out a window, so installation should be a very interesting process. I predict one of us (probably me) will be climbing out a window at least once.
No comments:
Post a Comment