

I'd been loving this one from Ikea but not so much that price. $400 for something I don't have to have? I'll pass, thanks. I had seen some great tutorials online for making a buffet out of kitchen cabinets, but after pricing that, there really wasn't much savings to be had.

One day last week, my mom and I drove all over town stopping at every antique and used furniture store I know of, with no luck on the buffet front other than this beautiful, perfect specimen. Which was $1,200. Yeah.

I did take home this awesome chair, though. It's way more comfortable than my former office chair and it rolls and swivels!
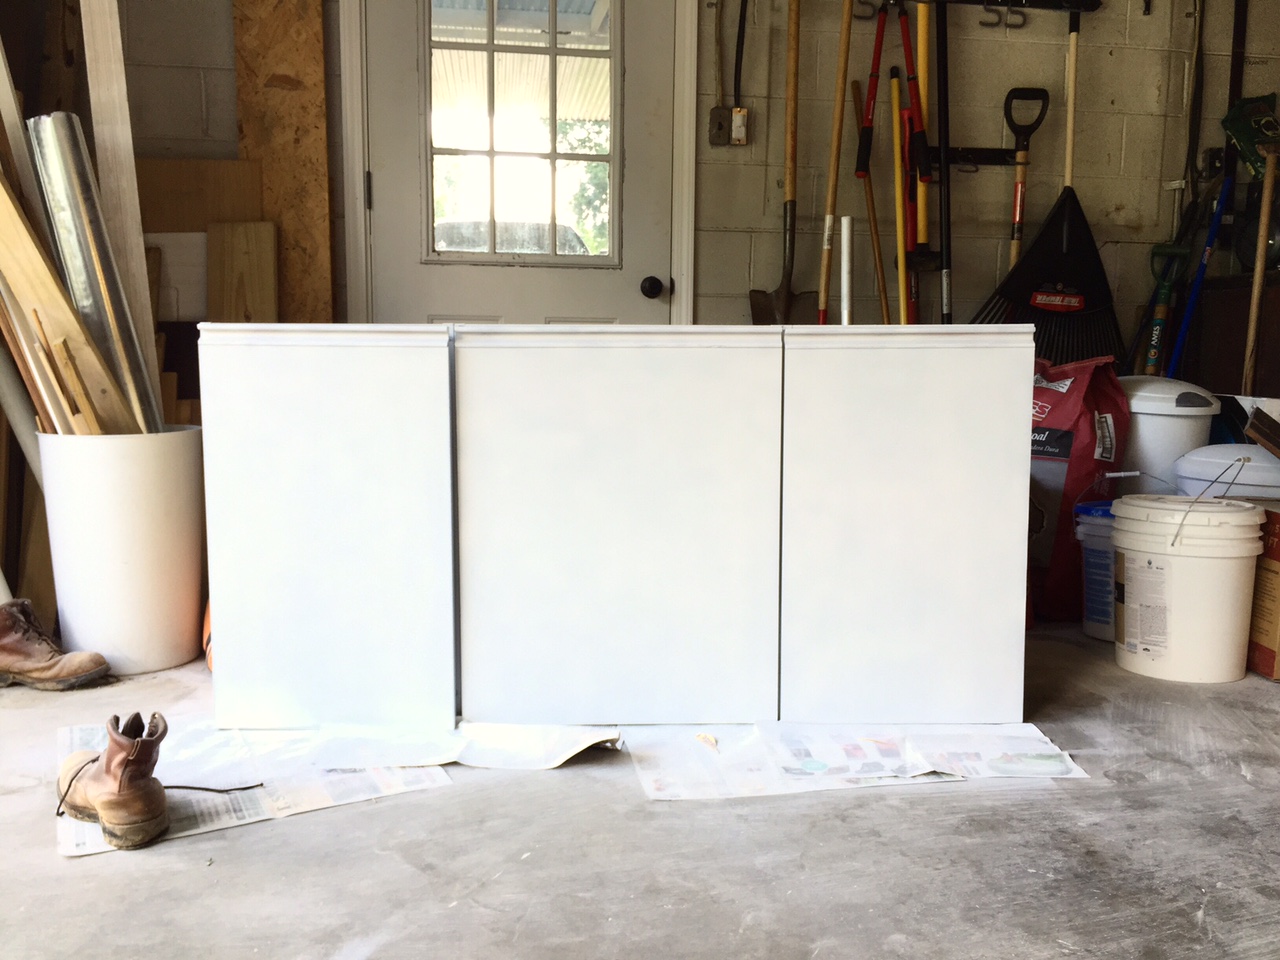
The last place we stopped was the Habitat for Humanity ReStore. As I browsed the cabinet aisle, I came across some gross, grey flat front cabinets and angels began to sing. It was just what I wanted and for only $5 each? I could hardly believe my luck. My mom seemed less enthused with my vision as I loaded them onto a cart.

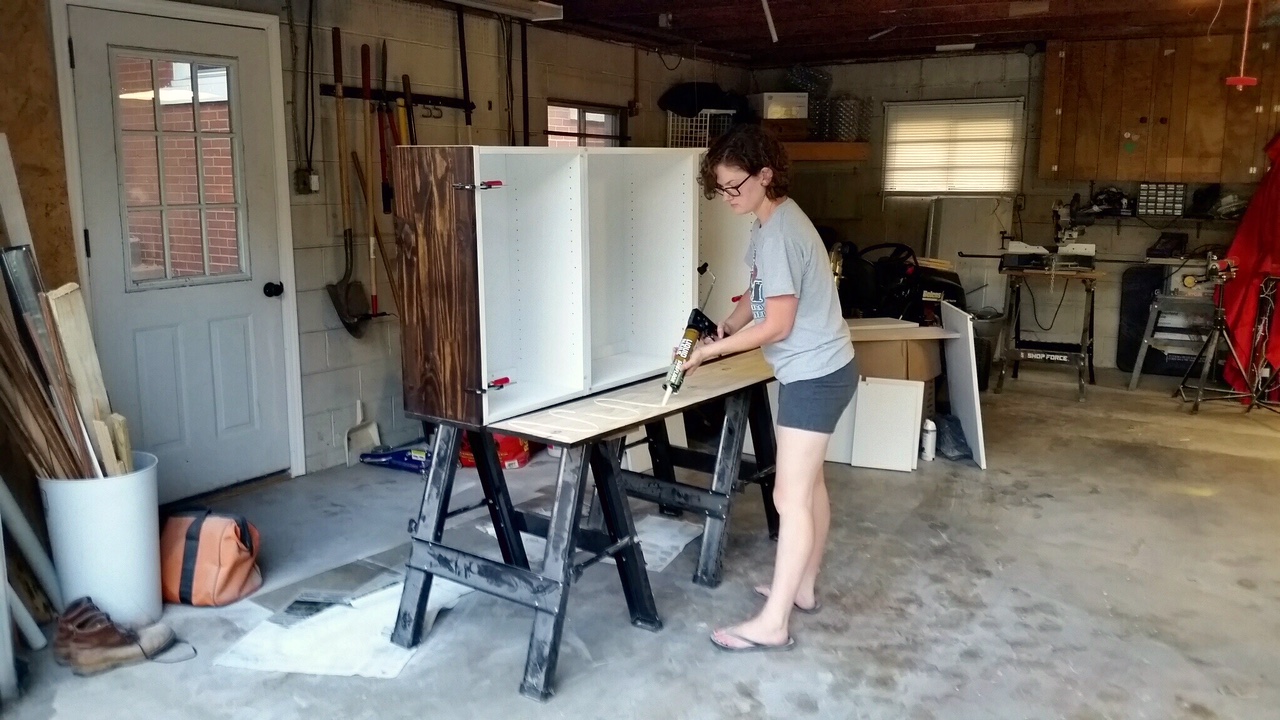
Once I got them home, I got right to work. I used liquid nails and screws to attach each of three cabinets to each other through the sides.

While that was drying, I removed the doors and shelves and wiped everything down. I grabbed a can of flat white spray paint I had left over from my filing cabinet makeover and started spraying the cabinet boxes. I only had one can, which didn't get me very far, so I had to leave the rest until the next day and a trip to Lowe's.

While I was getting additional cans of spray paint, I also picked up three 12" wide, 6' long edge glued pine panels. I went with the edge glued because not only were they cheaper than a board, they were actually 12" wide, whereas a board is more like 11 1/2" inches. Since my cabinets were exactly 12" deep I needed that extra 1/2". I picked up four legs and brackets, as well, and went about my merry way.
I measured my cabinets and cut pieces for the top, bottom and sides.

I applied a coat of Minwax's Dark Walnut stain and while that dried, I continued spray painting my cabinets.
I alternated spray painting and applying stain and polyurethane to the wood to speed up the process a bit. I used my flat paint on the insides of the cabinets, the shelves, and the backs of the doors. For the the door fronts, I used a gloss finish.

You and everything around you will get covered in overspray.
Once everything was dry that evening, I used liquid nails and attached my pine boards to the outside of the cabinets. I set the bottom board on saw horses and then David and I lifted the cabinets and set them on top of the board. I was a little afraid everything was going to fall apart when it was lifted up, but it held together very solidly. Whew.

I clamped everything tight and used some concrete blocks on the top to flatten out a slightly warped board. I let everything dry for about 24 hours.

The next night, I attached the angle leg brackets to the bottom of the cabinet, then screwed the legs into the brackets.

Then we carried it inside (it is VERY heavy) and reattached the shelves and doors.

It holds a ton of stuff!

I love its cute little legs. In fact, I like it even better than the one I had been eyeballing at Ikea. And for 1/4 of the price! Can't beat that.
Looks great, Beth! You did a wonderful job!
ReplyDelete