

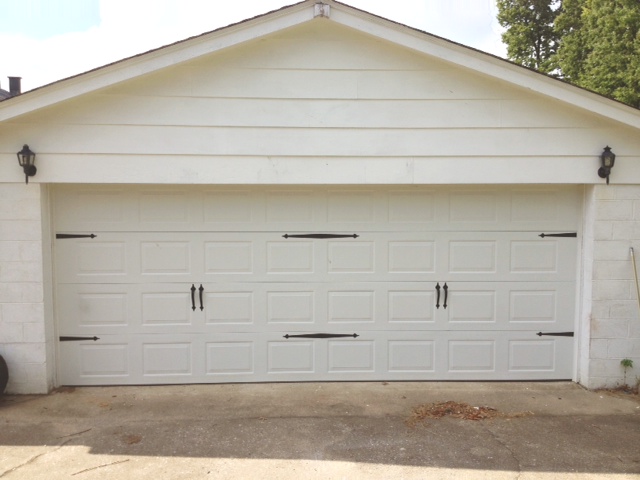
A couple of years ago, we had the garage door of our detached 2 car garage replaced. I'm pretty sure it was the original door that was installed when the garage was built in 1968 and it had become an unreliable safety concern. This is one job we felt more comfortable leaving to the pros, and so we had it professionally installed. I had dreams of replacing the old door with a carriage style door. However, our new door had to be special ordered (it's even larger than your standard double door) and, due to its size, required a more powerful (read: more expensive) motor to heave it up. Once I saw the cost for the carriage style door (even for a standard size) I knew that wasn't going to be an option.
Recently, I had been seeing some really inspiring images on Pinterest, where people had used a kit from Home Depot to add the carriage doors details to a standard garage door. I kept it in the back of my mind, until I saw this pin and knew I had found what I wanted to do.
When I told David my plan to paint faux windows on the garage door, I could tell he was skeptical of how it would look. I ignored him and went to Home Depot to pick up the hardware. Because our door is so massive, I knew I would have to get two sets. I feared only having one set wouldn't have the impact I wanted. At $20 a piece, it wasn't exactly cheap, but I knew the effect would be worth it.

The first step in installing the hardware is much easier if you have a second person. One person can hold up each piece while the other stands back to make sure it looks level and even. Using a level in this case won't work since the pieces aren't straight across. If you don't have another person around, you could always tape up the pieces to hold them in place.

Once I found my positioning, I marked where the screws would go and drilled pilot holes, then screwed each piece into place.
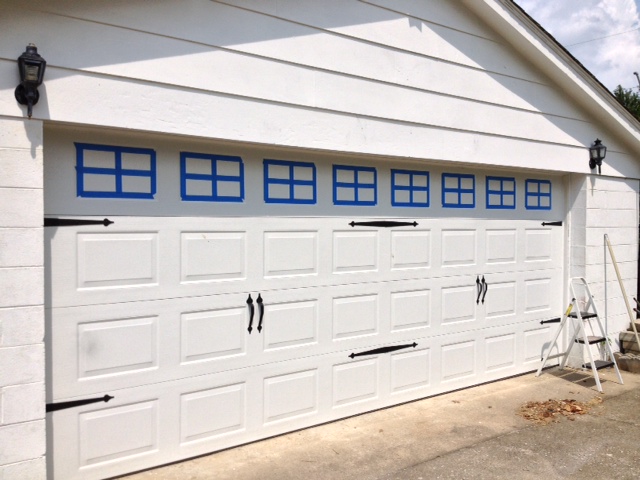
I measured each top panel, then made marks where my painter's tape edge needed to be. I found this by dividing the length or width by 2 (to the find the center point) and then subtracting 3/4" (half the width of my tape). I also outlined the edges of the raised panel with tape.

Then I applied two coats of Valspar's Black Magic in an exterior satin finish. This is paint that I had leftover from previous projects.

I peeled the tape off and was sorely disappointed. Because of the texture of the door, paint had seeped under my tape. To remedy this, I took a small artists paintbrush and some white paint and touched up around each square. It ended up not being nearly as time consuming as I had feared.

It still wasn't perfect, but definitely much improved. From a small distance, it's not noticeable.


What have you been fancify-ing recently?
I love this! I can't wait for you guys to paint the siding, too. It'll really make it look super swanky.
ReplyDeleteWe are trying to not get into any other big projects before we finish the basement, otherwise, I would probably be all "Let's do it NOWWWWW."
Delete